Testing-mgsecure: Difference between revisions
m (→Thumbnail test) |
|||
| Line 27: | Line 27: | ||
== | == Images without author tags == | ||
<gallery widths=200px heights=200px align="center"> | <div align="center"><gallery widths=200px heights=200px align="center"> | ||
File: | File:American_747.jpg| American_747.jpg | ||
File: | File:Assa_d12_front.jpg| Assa_d12_front.jpg | ||
File: | File:C2000_least.png| C2000_least.png | ||
File: | File:C3000_least.png| C3000_least.png | ||
File: | File:DOM_Plura_least.png| DOM_Plura_least.png | ||
File: | File:DOM_RS5_least.png| DOM_RS5_least.png | ||
File: | File:DOM_Sigma_least.png| DOM_Sigma_least.png | ||
File:MasterNo2.jpeg | | File:FAB1star_least.png| FAB1star_least.png | ||
File:MasterNo22.jpg | | File:FAB100_least.png| FAB100_least.png | ||
File: | File:FAB1000U4_least.png| FAB1000U4_least.png | ||
File: | File:FAB2_least.png| FAB2_least.png | ||
File: | File:FAB200_least.png| FAB200_least.png | ||
File: | File:FAB2000_least.png| FAB2000_least.png | ||
File: | File:FAB4xxxx_least.png| FAB4xxxx_least.png | ||
File: | File:FAB50_least.png| FAB50_least.png | ||
File: | File:FAB_Control_least.png| FAB_Control_least.png | ||
File: | File:FAB_Dynamic_least.png| FAB_Dynamic_least.png | ||
</gallery> | File:FAB_NZS3C_least.png| FAB_NZS3C_least.png | ||
File:FAB_Variant_least.png| FAB_Variant_least.png | |||
File:Galaxy01.jpg| Galaxy01.jpg | |||
File:Goal_S_Face.jpeg| Goal_S_Face.jpeg | |||
File:Goal_Z.jpeg| Goal_Z.jpeg | |||
File:LaGard_3390_without_cover-obrotund.jpg| LaGard_3390_without_cover-obrotund.jpg | |||
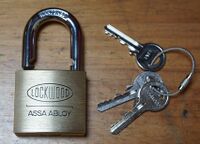
File:Lockwood_110-40.jpg| Lockwood_110-40.jpg | |||
File:Lockwood_120-50.jpg| Lockwood_120-50.jpg | |||
File:Lockwood_334B45.jpg| Lockwood_334B45.jpg | |||
File:MasterNo2.jpeg| MasterNo2.jpeg | |||
File:MasterNo22.jpg| MasterNo22.jpg | |||
File:MasterNo4.jpg| MasterNo4.jpg | |||
File:Master_570.jpg| Master_570.jpg | |||
File:Master975-front.jpg| Master975-front.jpg | |||
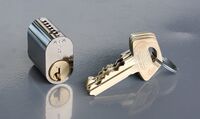
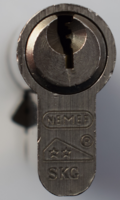
File:Lock_Cylinder.JPG| Lock_Cylinder.JPG | |||
File:Nemef_NF2_least.png| Nemef_NF2_least.png | |||
File:Nemef_NF3_least.png| Nemef_NF3_least.png | |||
File:PACLOCK_100G_(1).jpg| PACLOCK_100G_(1).jpg | |||
File:8500_spring_not_charged.png| 8500_spring_not_charged.png | |||
File:S%26G_951C.jpg| S%26G_951C.jpg | |||
File:Sesamee_55230_front.jpg| Sesamee_55230_front.jpg | |||
File:IMG_20210204_063456.jpg| IMG_20210204_063456.jpg | |||
File:Yale_850_1.jpg| Yale_850_1.jpg | |||
</gallery></div> | |||
== ALL lock photos == | == ALL lock photos == | ||
Revision as of 20:47, 31 January 2023
This page being used for testing and development
Disassembly instructions edit
Original: To disassemble a double euro cylinder, use of a pinning shoe is the preferred method. Other possibility is to use a segmented follower, but that requires that both cores are pulled out a bit to allow a cam removal. Then a core should be rotated to approximately 4:30 or 7:30 o'clock position (135 degrees either clockwise or anti-clockwise) to prevent driver entering a gaps for the cam clutch. Then a segmented follower can be used to remove the core.
Proposed edit:
For Euro Profile page:
The use of a pinning shoe is the preferred method for disassembling a double euro cylinder. STEPS?
Another method is to use a segmented follower. The c-clips retaining both cores must first be removed and then both cores can be pulled out slightly in order to remove the center cam. One core should be rotated 30-45 degrees either clockwise or counter-clockwise -- once the cam is removed. This allows the core to be removed without driver pins entering gaps for the cam clutch. At that point, a segmented follower can be used to remove the core.
Locks not intended for installation and use can be disassembled in a quick but destructive procedure. The cylinder housing itself can be cut in the middle using a hacksaw or grinder. The cam will no longer be held in place and can be removed. The resulting two cut half euro cylinders can then be disassembled as outlined above.
For individual lock page:
TBD
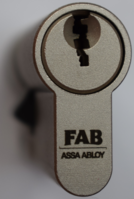
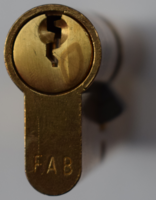
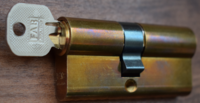
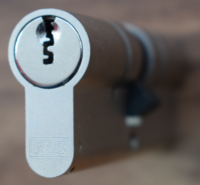
Images without author tags
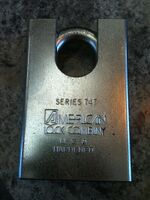
American_747.jpg
Assa_d12_front.jpg

C2000_least.png

C3000_least.png
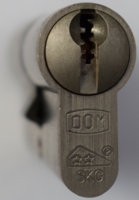
DOM_Plura_least.png
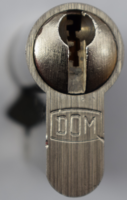
DOM_RS5_least.png
DOM_Sigma_least.png
FAB1star_least.png
FAB100_least.png
FAB1000U4_least.png
FAB2_least.png
FAB200_least.png

FAB2000_least.png

FAB4xxxx_least.png
FAB50_least.png
FAB_Control_least.png

FAB_Dynamic_least.png
FAB_NZS3C_least.png

FAB_Variant_least.png
Galaxy01.jpg
Goal_S_Face.jpeg

Goal_Z.jpeg

LaGard_3390_without_cover-obrotund.jpg
Lockwood_110-40.jpg
Lockwood_120-50.jpg

Lockwood_334B45.jpg
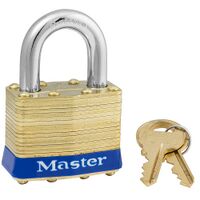
MasterNo2.jpeg
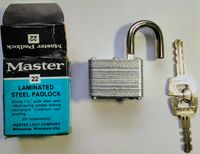
MasterNo22.jpg

MasterNo4.jpg

Master_570.jpg

Master975-front.jpg

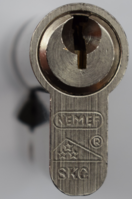
Lock_Cylinder.JPG
Nemef_NF2_least.png
Nemef_NF3_least.png

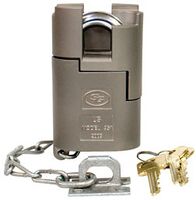
PACLOCK_100G_(1).jpg

8500_spring_not_charged.png
S%26G_951C.jpg
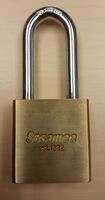
Sesamee_55230_front.jpg
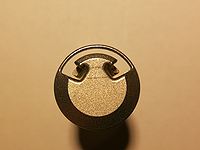
IMG_20210204_063456.jpg
Yale_850_1.jpg


.jpg)